Unknown's avatar

About missamateurchef

Lifelong foodie turned home chef. A girl with a passion for food and all the beautiful things in the world...

Sablés

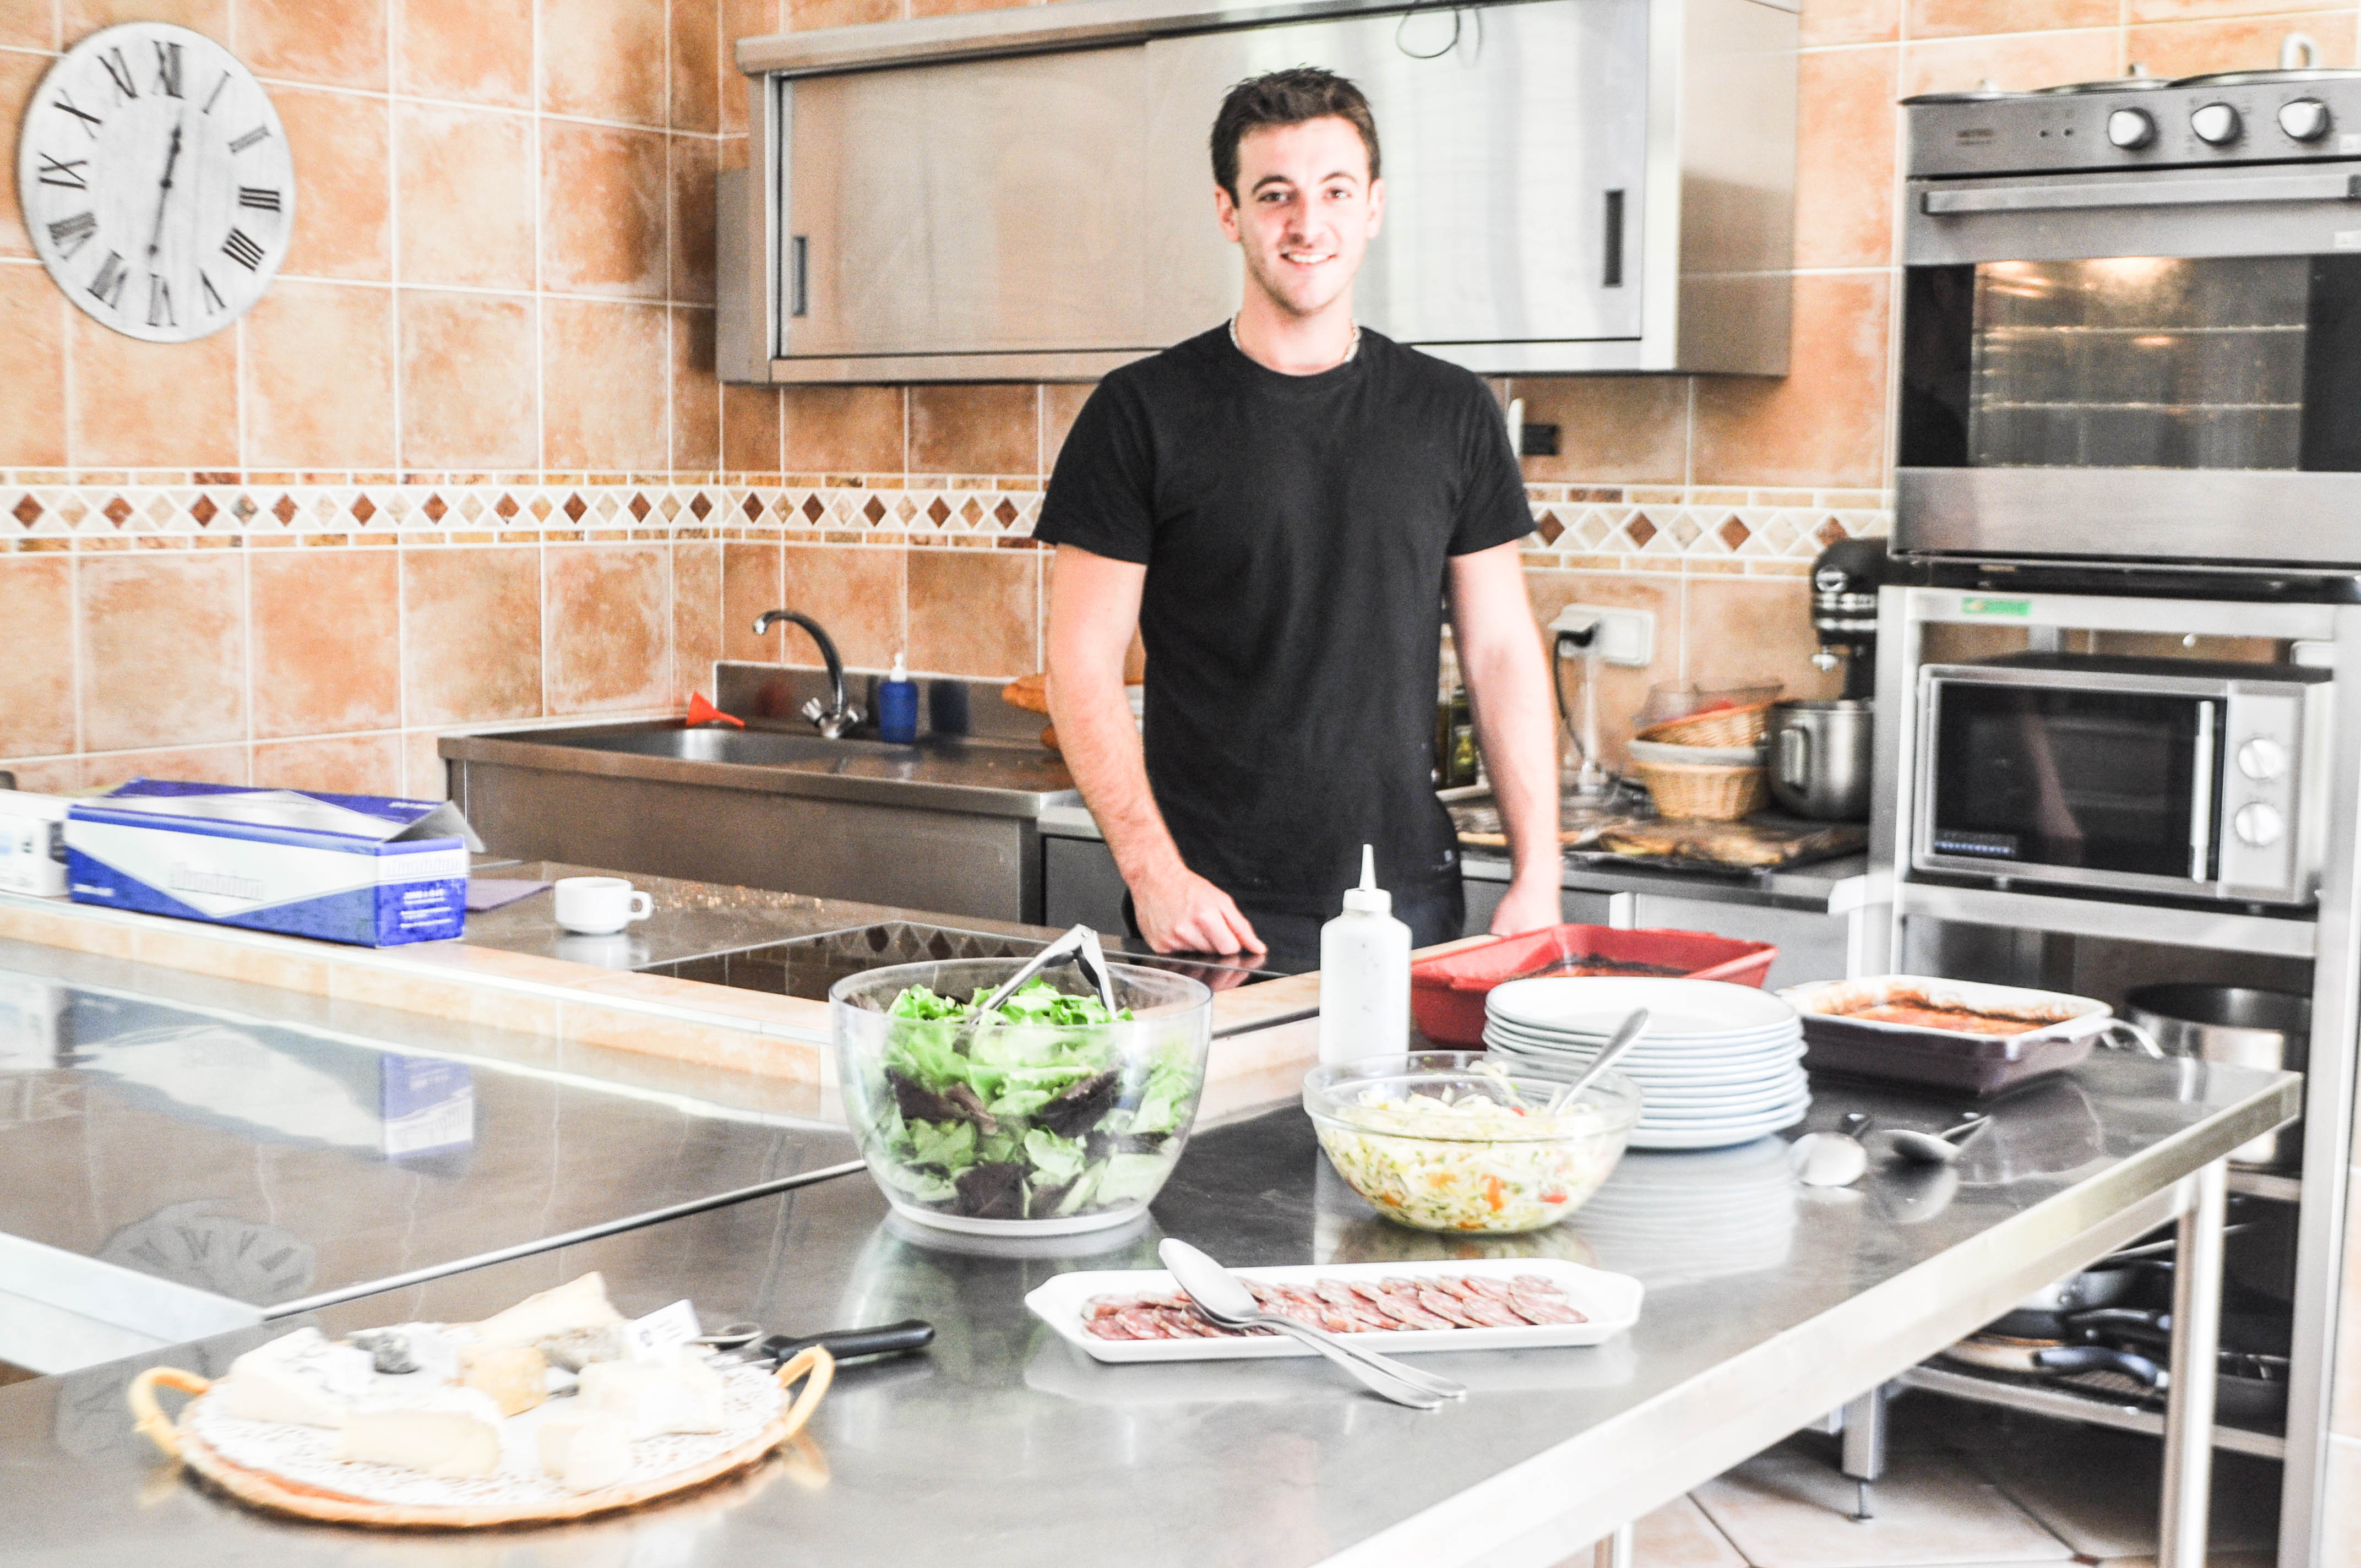
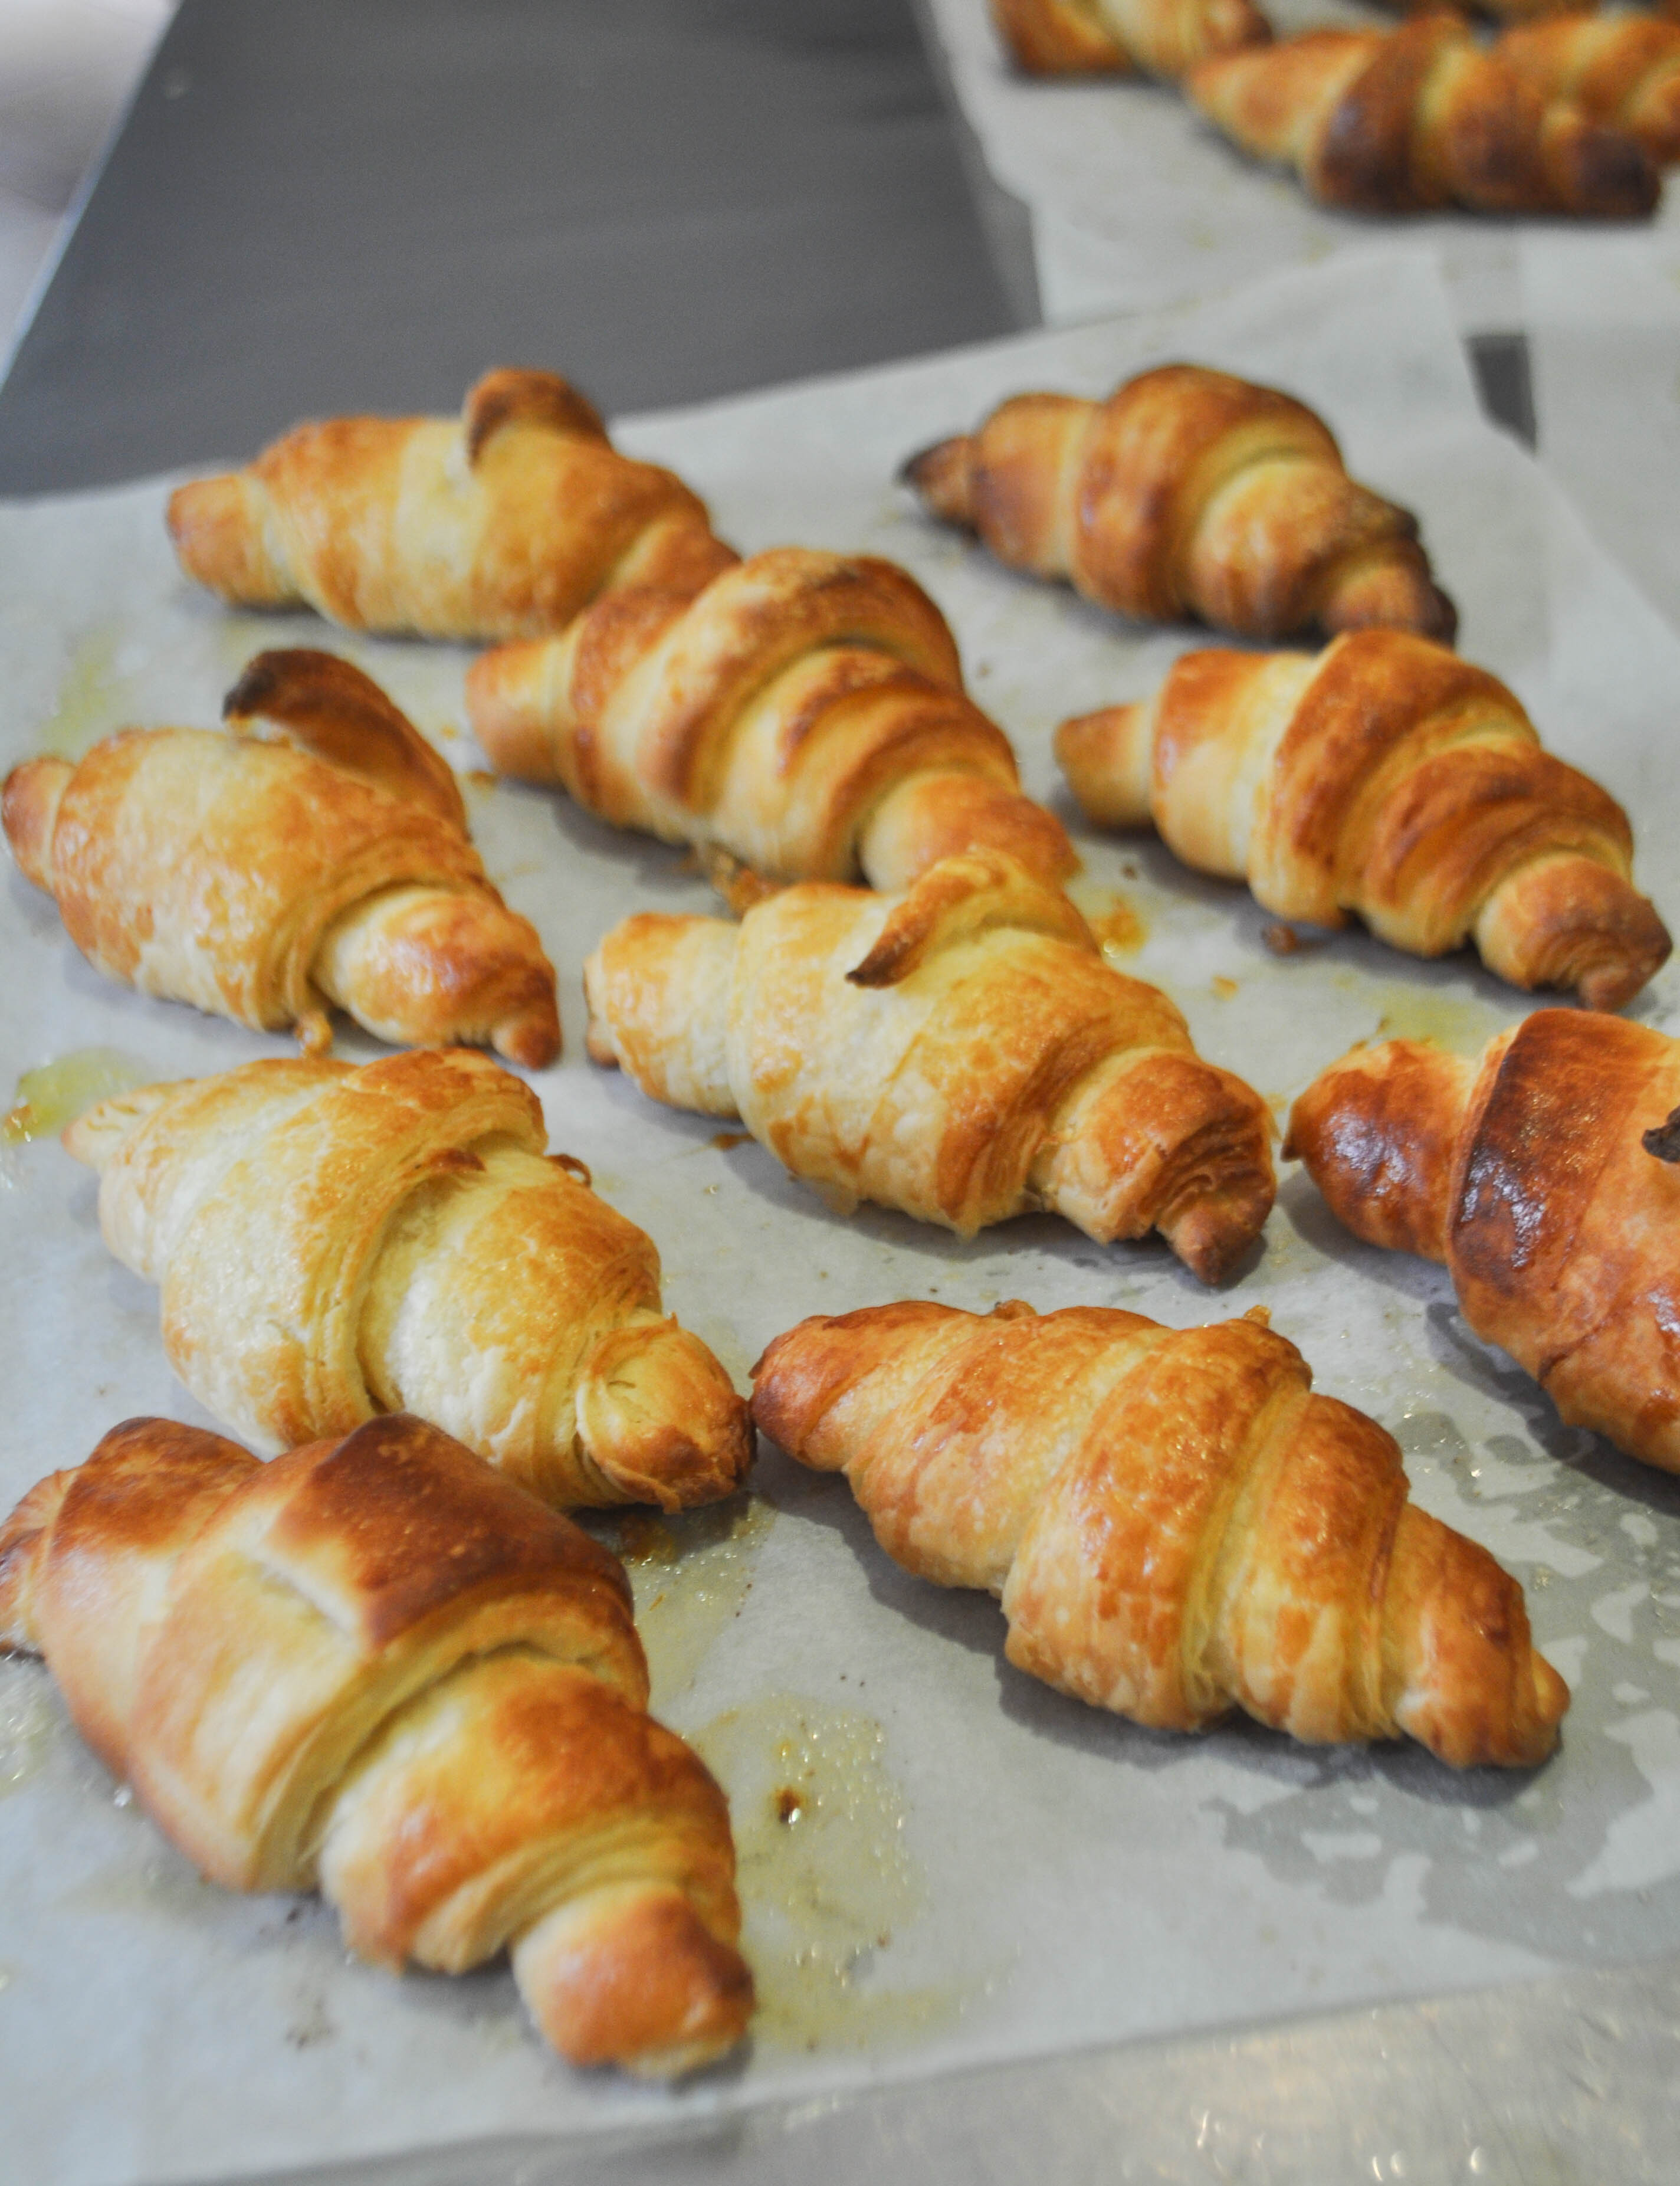
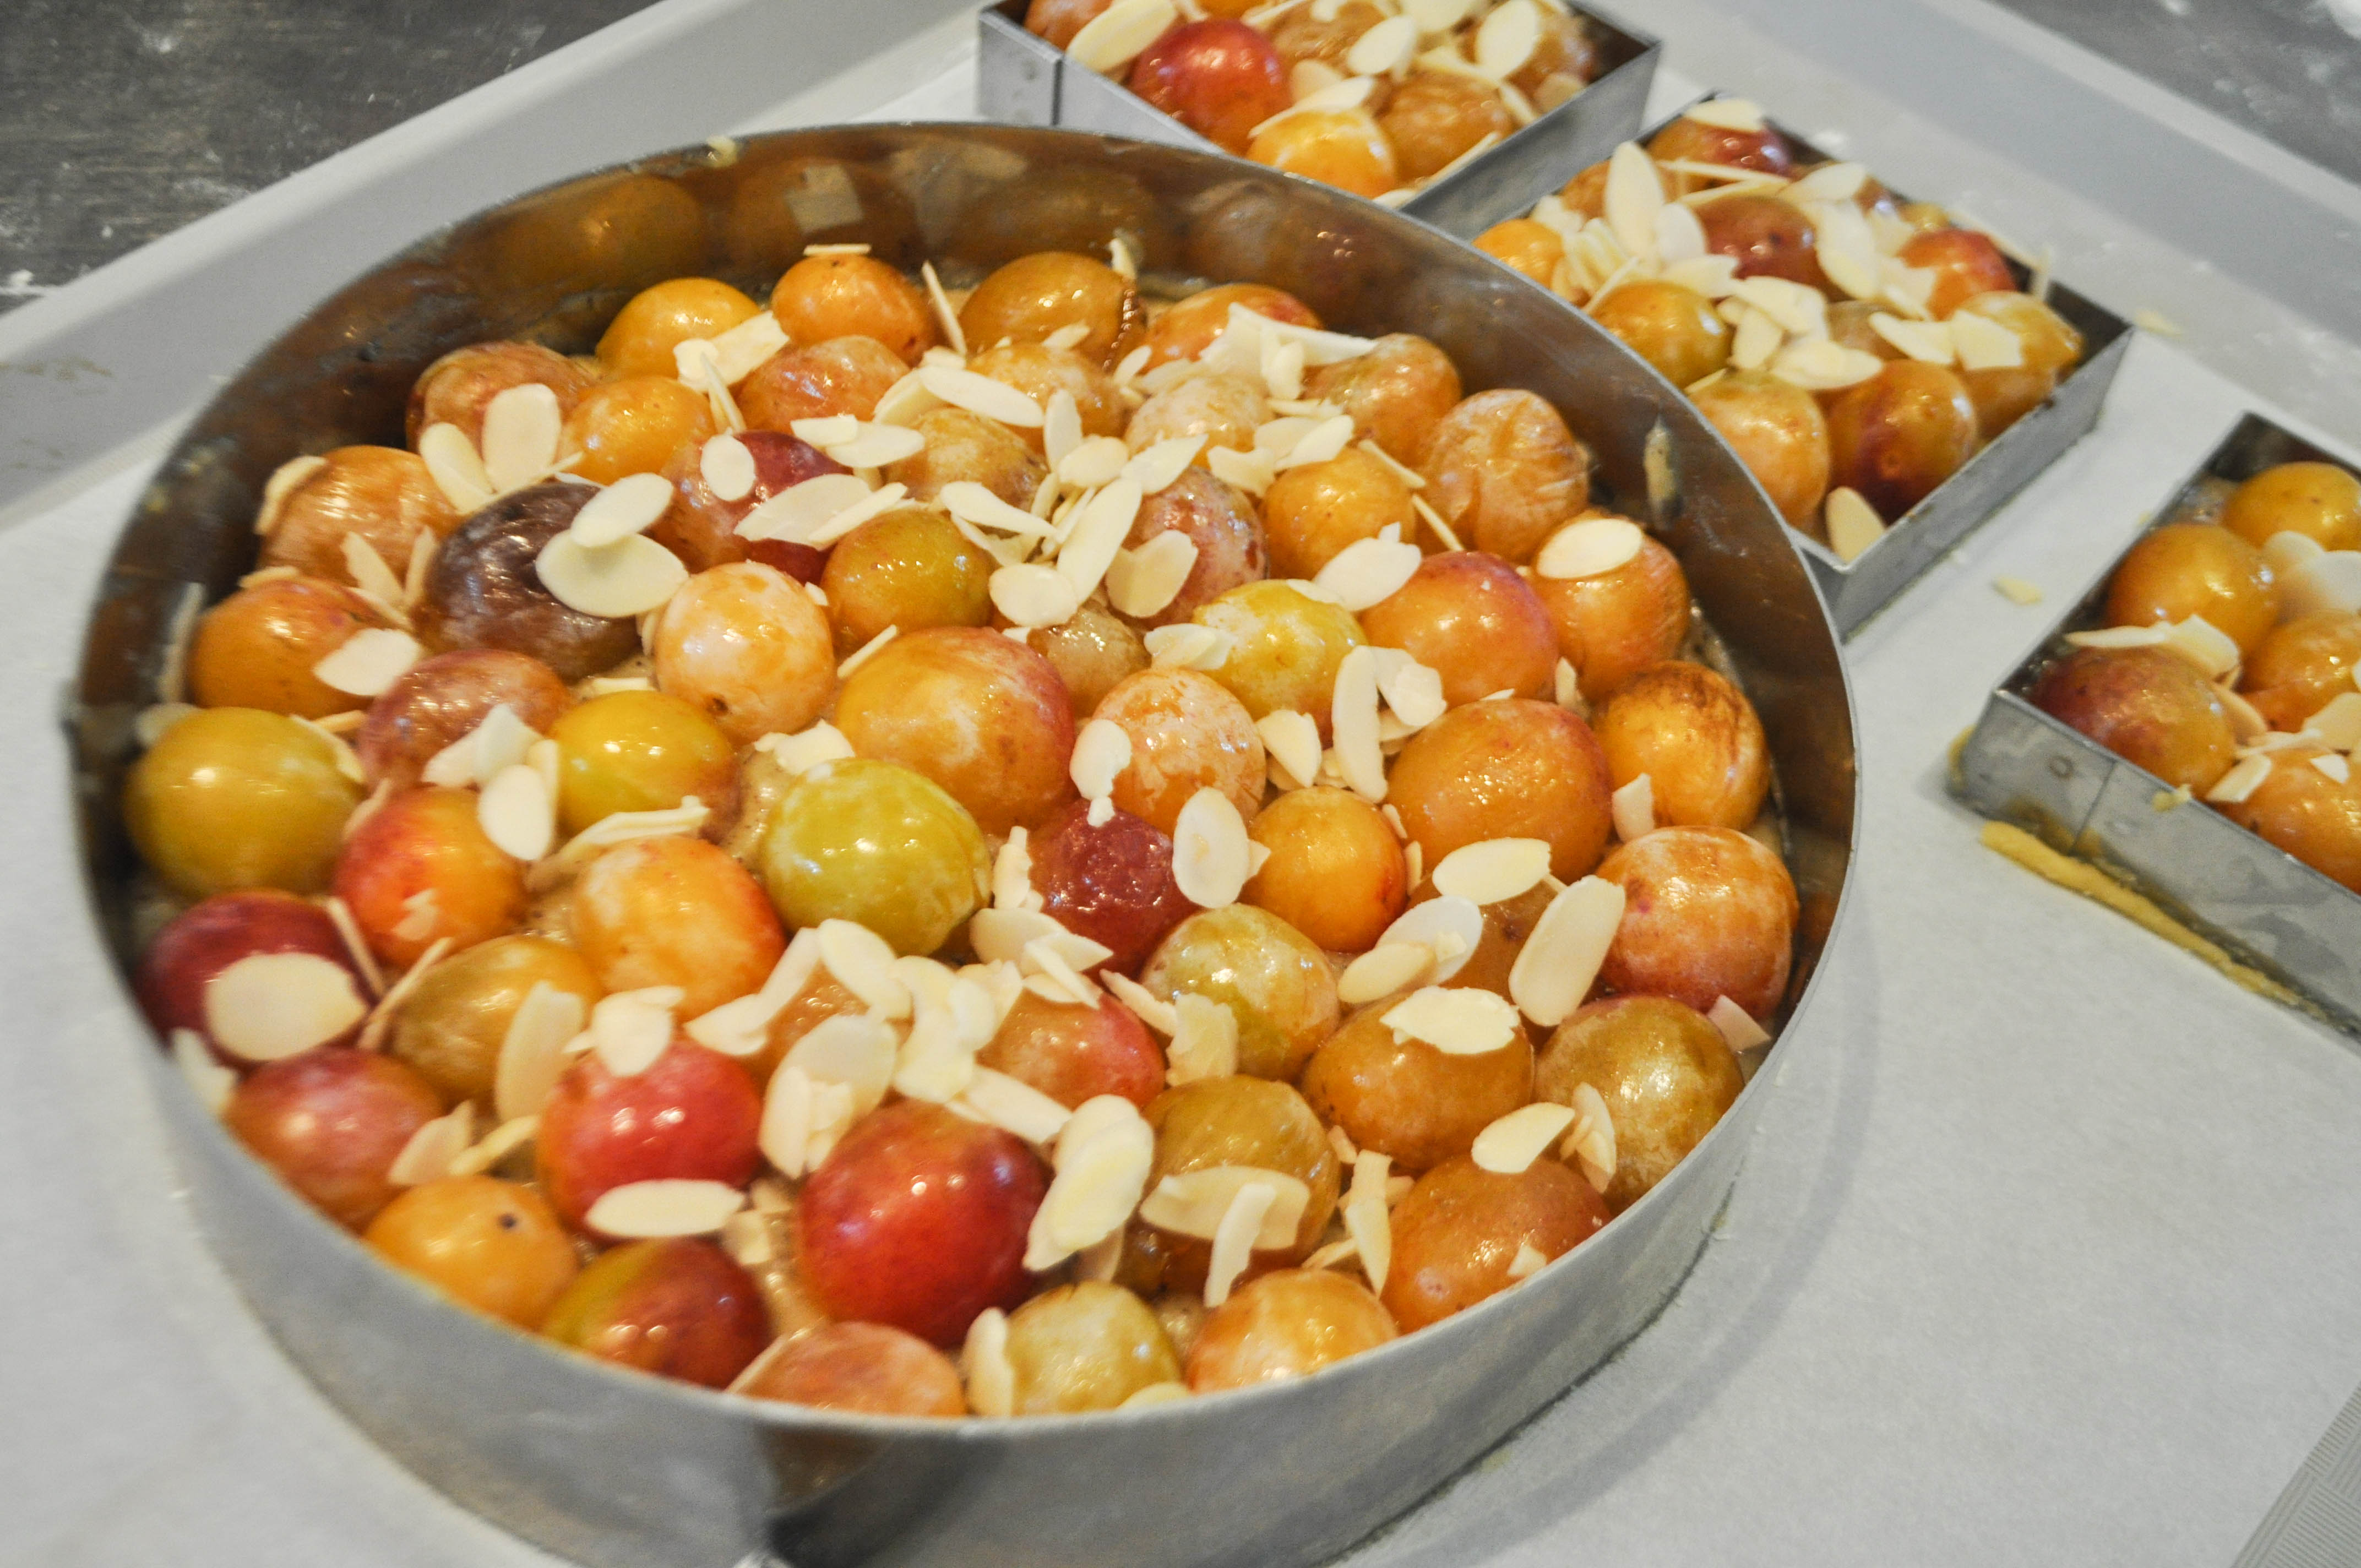
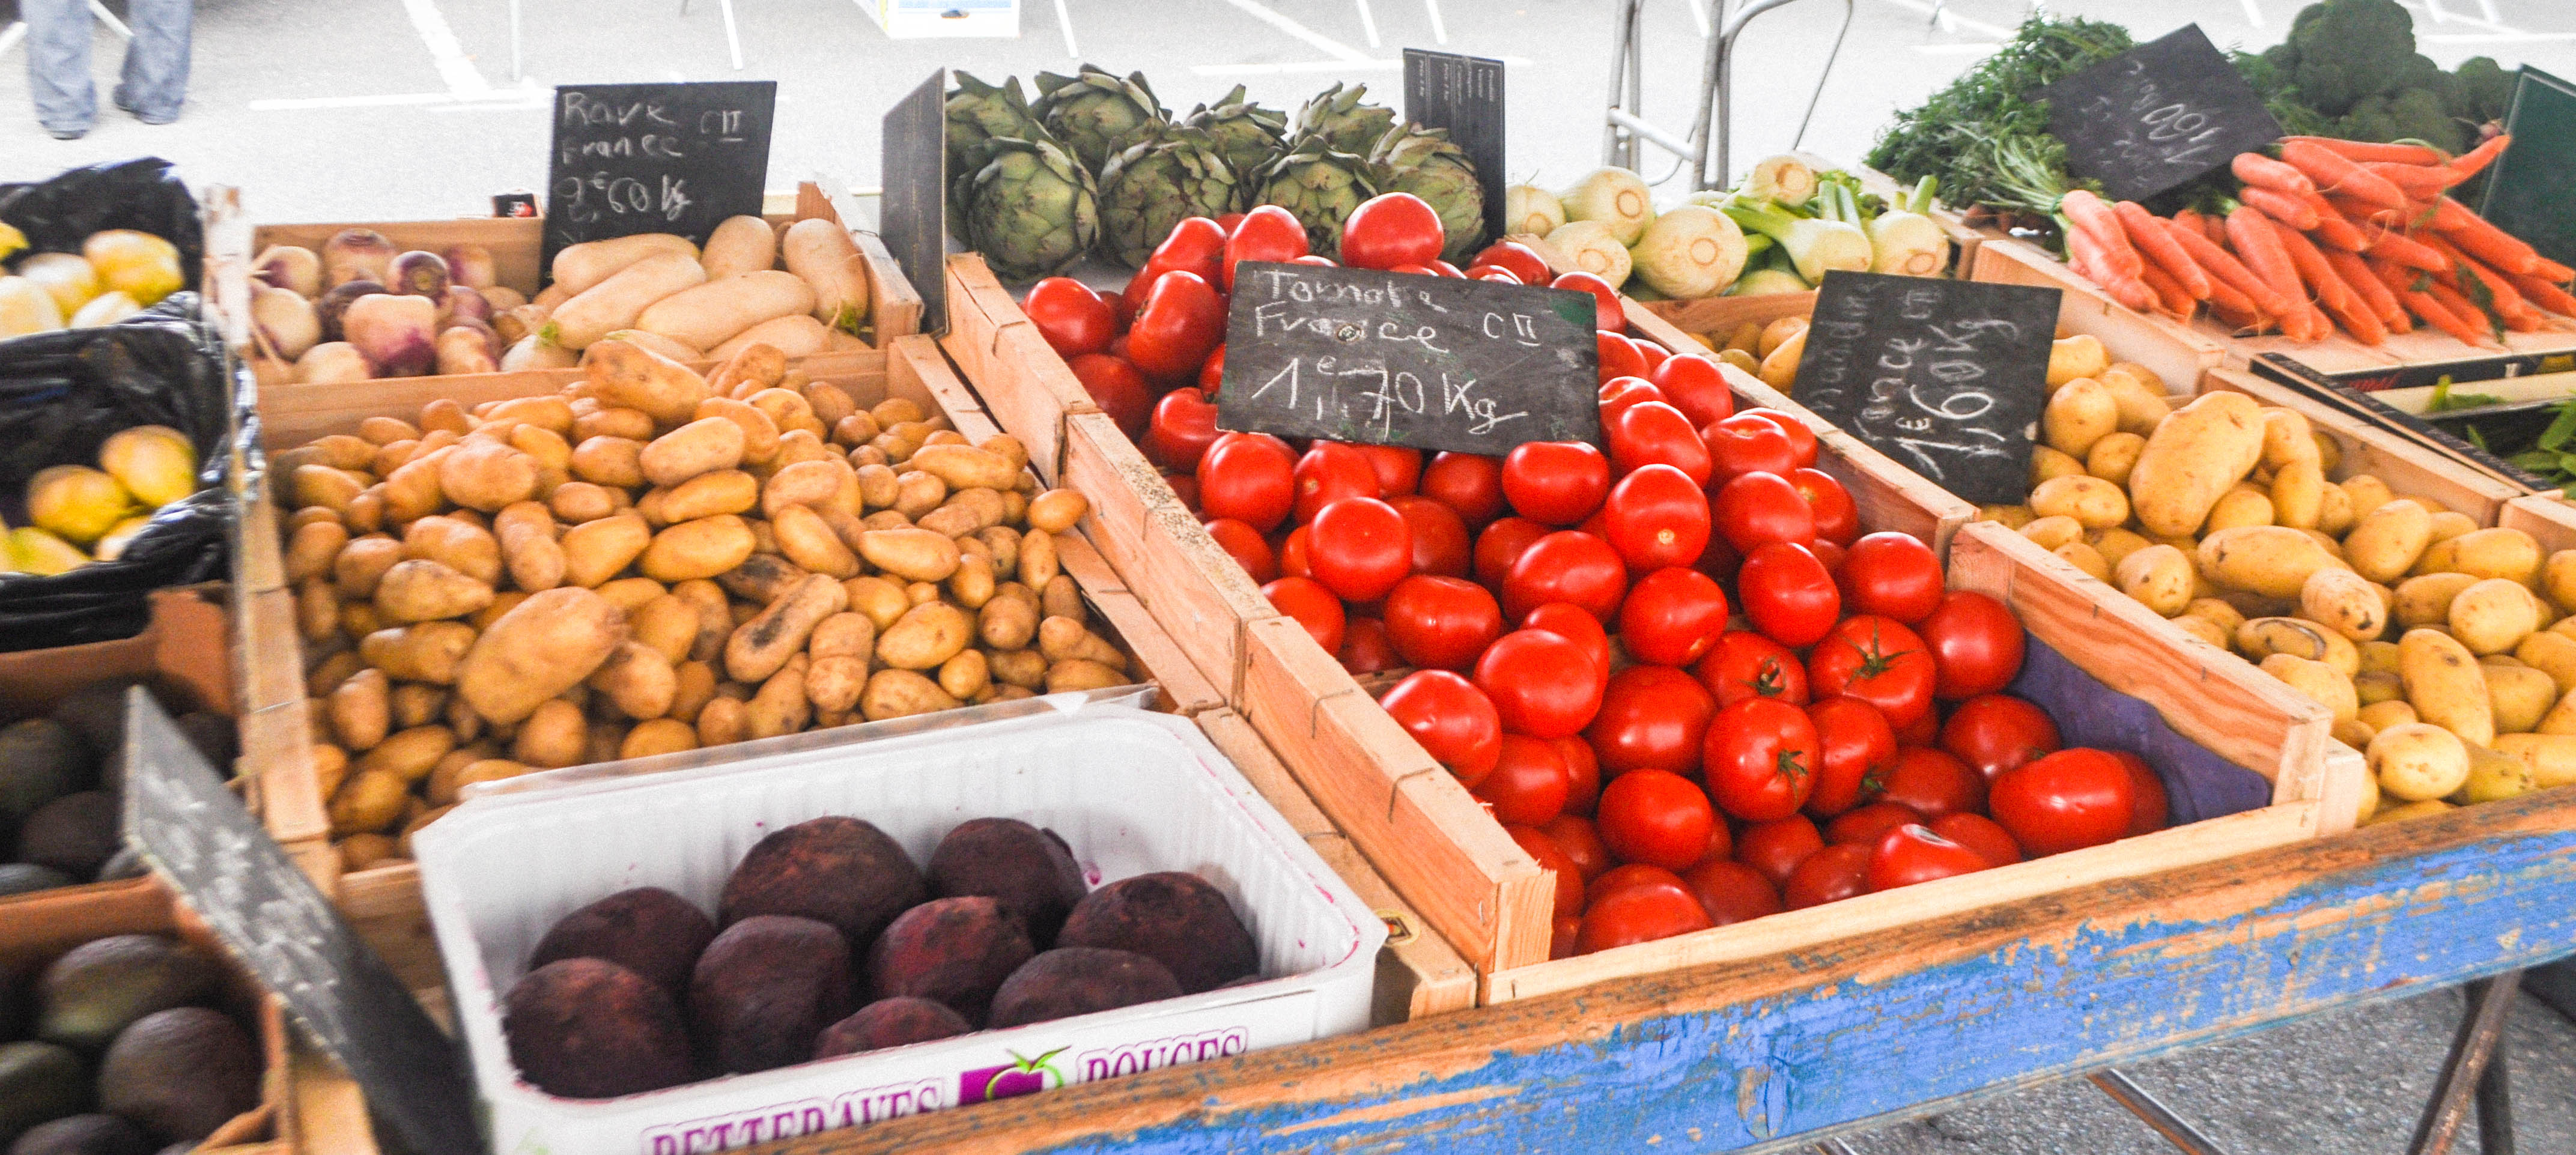
Window-shopping in food halls is one of my favorite things to do in France. I have long fallen under the spell of French gâteaux that come in all sorts of shapes and sizes. Sugar or cream coated, they glistened in the window of patisseries with the sweet promise of delighting my tastebuds. During my stay in Roanne, a few streets over, was the Gautheron Bakery. They offered a wide range of French pastries- éclairs, proliferoles, saint honores, fraisiers, palmiers, fruit tarts, croissants… I had to limit myself to two per day during tea-time (mostly because I wanted to save some room for the cheese platter at dinner =P) It wasn’t until my fourth or fifth visit, did I notice this plain-looking cookie…

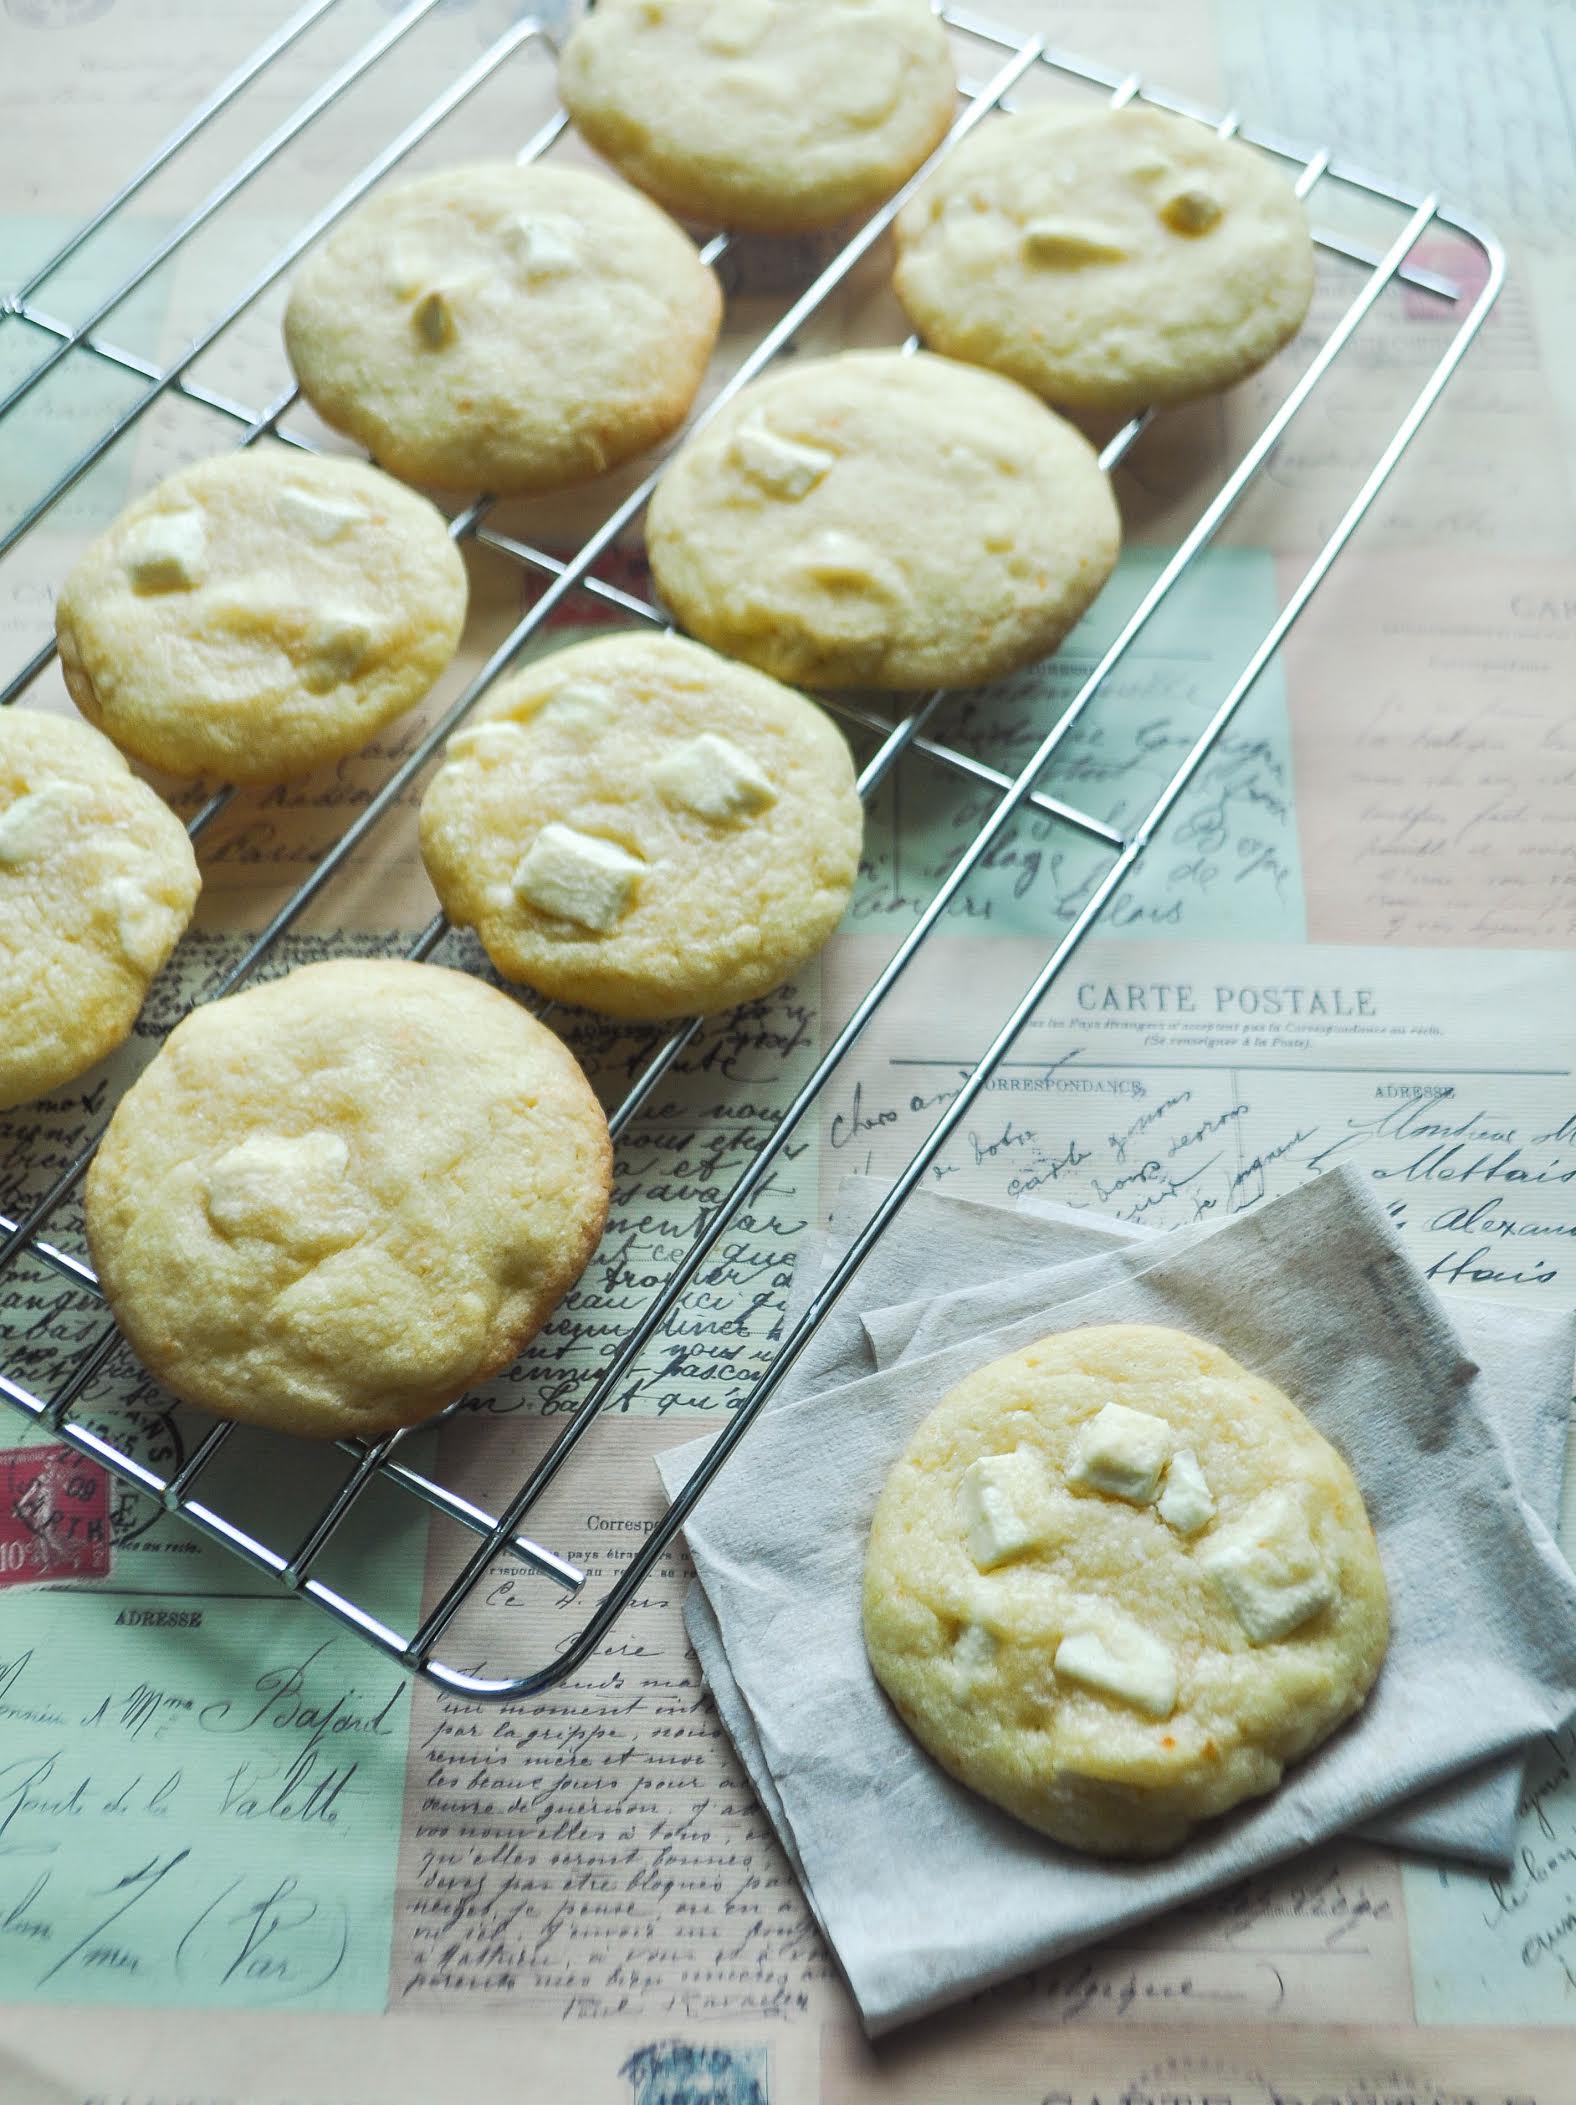
Sablés, also known as French shortbread, are classic French cookies originating in Normandy France. The name ‘Sablés’ is French for “sand”, which refers to the sandy texture of this delicate and crumbly cookie. With its crispy exterior and cakey, tender interior, unlike its counterparts in patisserie, it has got a more subtle sort of elegance.

DSC_0272

DSC_0280

DSC_0296

DSC_0295

They were ridiculously easy to make and roll out; some of the easiest cookies I’ve made. These humble-looking treats are everything you’d want from a classic shortbread: crispy, crumbly, sweet, salty and sugary. They are delicious plain, but are also a blank canvas for experimentation, they can be sandwiched together with jam, chocolate ganache or our favorite Nutella!!!


Ingredients (yields 18 cookies):

  • 70 grams unsalted butter (room temperature)
  • 50 gram granulated sugar
  • Two eggs (room temperature) – reserve one for brushing the cookies
  • 1 teaspoon vanilla extract
  • 130 grams all purpose flour
  • 1/4 teaspoon baking powder
  • 1/4 teaspoon salt

Directions:

  1. Preheat the oven to 180 degrees C.
  2. Beat butter and sugar until light and fluffy (2-3 minutes) by a mixer. Add half the egg and vanilla extract and beat until incorporated.
  3. In a separate bowl, whisk together the flour, baking powder and salt.
  4. Add the flour mixture to the butter mixture and beat until incorporated.
  5. Transfer the dough to a lightly floured work surface, knead the dough a few times to bring it together, and divide the dough in half. Then roll each half between two sheets of parchment or wax paper until it is about 1/4 inch thick. As you roll, smooth out any wrinkles.
  6. Place the dough on a baking sheet (along with the parchment paper) and place in the refrigerator until cold and firm (about 45 minutes).
  7. Once chilled, remove from refrigerator and peel off the top piece of parchment paper. Use a cookie cutter to cut out the cookies. Place them on the prepared baking sheets.
  8. Brush the tops of the cookies with the remaining egg. Make a crisscross pattern on the top of each cookie with the tine of the fork.
  9. Bake the cookies for about 12 – 14 minutes or until golden brown around the edges.


My Délicieux Adventure in Roanne- Deux

As cliched as it sound, I dreamed about living in France ever since my first visit to Paris in my childhood. Since then I travelled regularly to Europe and Paris was always part of the itinerary. Unlike many childhood memories revisited, Paris didn’t disappoint. But part of me just wondered… how would it be like to be living in the less touristy part of France. I mean to actually become part of the neighbourhood… to know all the best local boulangeries… to have the lady at boulangerie prepared my favorite baguette pas trop cuite without asking… to commute home by walking all those secret shortcuts and to greet neighbours with a “Bonjour”…. While quitting my job and living in France is a dream both abstract and impractical, at least in the near future, I instead signed up for an one-week immersion program. This time ditching the usual tourist trail and hit the French countryside.

It had been a dream come true to immerse myself in the language that I have come to passionately love, which sounds echo in my ears like musical notes. During the one week time I spent at l’Ecole des Trois Ponts (meaning three bridges school) on the outskirts of Roanne, I had three hours of instruction every morning on grammar followed by pastry class in the afternoon, and mealtime where only French is spoken. In the pretty campus, which is a recently renovated 18th-century chateau, I did not have to worry about anything but learning French. My room was cleaned by a maid everyday, a talented chef prepared lunches and dinners for us and good local wines, cheese always accompanied them. I had the opportunity to sample 25 cheeses in a week. They were so irresistible that I gave up any thought of dieting and tried every single one. 
DSC_0245
DSC_0258
DSC_0260
DSC_0244
 
The afternoon pastry class was equally engaging… I learnt French classics such as croissant, fruit tarts and macrons. Unlike cooking, where you can follow your own taste. Patisserie is a science, weighing your ingredients and careful calculation are in most cases absolutely essential.  I was in awe of a country that has developed bread and pastries so divine out of nothing but flour, sugar and butter. 
DSC_0226
DSC_0231
DSC_0307
DSC_0324
DSC_0334
DSC_0312
DSC_0321
DSC_0336
I still remember the day I had my croissant class. Shattering the shell to reveal supple number of layers, there is no croissant as crispy and fluffy or as buttery as the one you eat, still warm from the oven.
And I went to bed that night with a big, fat satisfying grin on my face and my fingers smelling like butter =)
 

My Délicieux Adventure in Roanne

So there is that place that you have always wanted to… you even had the perfect itinerary planned out… but somehow you can’t seem to convince anyone else to go with you. What can a girl do? Um… wait? Pray that her perfect travel companion with come along one day?

I inhaled deeply, booked the flight and train ticket online after staring at the computer screen for 15 minutes. Finally took the plunge and travel sans accompaniment, and i ended up having one of the best trips in my life =)

Roanne- a little town located northwest of Lyon on the Loire River. It is a commune in the Loire department in central France. For many years, it has been known as a mecca for gastronomy (largely because of the famous Troisgros family, and I will write more about that on my next posts…). After 13 hours of flight and another 5 hours travelling on train, I finally arrived in the little picturesque town. While my mind dizzy with jet lag and excitement, I took a quick shower and couldn’t wait to go out and explore…

DSC_0048

DSC_0055

DSC_0075

I walked around town aimlessly… and so my edible adventure in France began… There were open-air markets that flooded with bright, late-summer produces- soft-skinned peaches, zesty herbs, delicate asparagus, bakeries that enticed me with the aroma of freshly baked croissants, fromageries that lured me with perfectly ripe Brie…

DSC_0065

DSC_0086

DSC_0096DSC_0094

DSC_0076

DSC_0090

DSC_0060

Lemon and White Chocolate Cookies

Cookie lovers like me would probably agree that nothing makes lazy summer afternoons more pleasant than relaxing on the couch with a plate of cookies and iced tea. Such afternoon cookie breaks are the essence of easy summertime living, especially in the record-breaking heat wave.

Being a natural baker at heart, I’m often compelled to pull out my mixer, toss sugar and butter in the bowl, and mix up a batch of chocolate chip-speckled treats. In the summer, I replaced the dark chocolates with a more refreshing combo- lemon and white chocolate. I used lemon three ways: extract, zest, and juice to create a more robust lemon flavor while the spoonful of honey helps keep the cookies moist.

End any summertime meal deliciously with these lemony babies!

lemon cookies 1

lemon cookies 2


Ingredients:

  • 1/2 cup of unsalted butter, melted
  • 3/4 cup of granulated sugar
  • 2 tablespoons of light brown sugar
  • 1 large egg
  • 1 tablespoon of lemon extract
  • 2 tablespoons of lemon zest
  • 2 tablespoons of lemon juice
  • 1 tablespoon of honey
  • 2 cups of flour
  • 2 teaspoons of cornstarch
  • Pinch of salt
  • 1 teaspoon of baking soda
  • 1 cup of white chocolate

Directions:
1. Preheat oven to 180 deg Celsius.
2. In a large bowl, cream butter and sugar together until light and fluffy. Whip in honey, egg, lemon zest, extract and juice. Scrape sides and mix again.
3. Stir in all dry ingredients slowly until just combined. Scrape sides of bowl and mix again briefly.
4. Add in the white chocolate chunks
5. Form approximately 12 equal-sized mounds of dough by hand or using ice-cream scoop, roll into balls, and flatten slightly.
6. Place dough mounds on baking sheet, spaced at least 2 inches apart.
7. Bake for about 10 minutes, or until edges have set, don’t overbake as cookies firm up as they cool.
8. Allow cookies to cool on baking sheet for about 10 minutes before serving.


Scallop Carpaccio with Mango and Dill

We all love carpaccio, don’t we? Delicious, traditional beef carpaccio is available in every single Italian restaurant and I am more than happy about this fact. The term carpaccio can also be used for any preparation made with thinly sliced raw meat, fish or vegetables. I have seen zillion combos of carpaccio over the years… octopus with tomato, zucchini with feta, beef with pomegranate… I guess the most important thing in creating your own version of carpaccio is to let your imagination run wild, and this is basically what cooking is all about.

Back to today’s recipe, last weekend was gorgeous and summery, so I prepared a lovely carpaccio of scallops for dinner, which I teamed up with some mango and a tangy lime dressing. It only took a few minutes to assemble the dish and the lime juice adds a tinge of crispy freshness to this fabulously simple starter.

 DSC_0945-2

DSC_0978-2


Ingredients (Serving for 2):

  • 8 scallops (sashimi quality)
  • 1/2 mango (ripe)
  • 2 limes
  • Salt
  • Pepper
  • Fresh dill

Directions

  1. Thinly slice the scallops, and arrange them nicely on a serving plate.
  2. For the marinade: squeeze the lime.
  3. Add an equal amount of olive oil to the juice.
  4. Season with salt and pepper. Stir with a fork.
  5. Cut the mango into dices. And add the diced mango into the marinade preparation.
  6. Add one tablespoon of finely chopped dill. Combine well.
  7. Coat the scallops with the marinade; make sure the mango dices are evenly spread.
  8. Finish by sprinkling a few sprigs of dill. The dish is best served cold!

S’mores Cookies

While there are so many beautiful, elegant options of desserts out there—delicate macarons, bright and cheery cupcakes, fluffly soufflé that melts on your tongue —which all seem to fit perfectly with the current trend of attractive, over-the-top looking desserts.

Call me old-fashioned, I’m still a huge fan of the homiest, rustic looking cookies (those you secretly wished your mother had made when you returned home from school as a kid!). Most of the cookies I make fall into this category.

If you love that perfect combination of warm, melted chocolate and gooey, toasted marshmallows of s’mores, then I have the perfect cookie recipe for you… Make these S’mores Cookies tonight, no campfire required!

s'more cookies

s'more cookies


Serves 10-12 large pieces of cookies

Ingredients:

  • 1 egg
  • 1 teaspoon vanilla extract
  • ½ cup sugar
  • ¼ cup brown sugar
  • ½ cup butter, softened
  • 1⅓ cups flour
  • ¾ cup digestive biscuit crumbs
  • 1 teaspoon baking powder
  • Pinch of salt
  • 3/4 cup chocolate chips
  • 1 cup marshmallow bits

Directions:
1. Preheat oven to 180 degrees celsius.
2. In a medium sized mixing bowl, cream together butter, brown sugar, and sugar until it is light and fluffy.
3. Add in the egg and vanilla and mix until incorporated.
4. Crush digestive biscuits by hands until they are fine crumbs.
5. In a separate bowl, mix the crumbs, sifted flour, baking powder, and salt.
6. Slowly add the dry ingredients to the wet and mix until it is combined.
7. Fold in the chocolate chips.
8. Form slightly larger than golf sized of dough.
9. Place balls of dough on baking sheet 2” apart. Bake for 8 minutes.
10. Remove and quickly press 3 marshmallows into cookies. Return to oven and cook until the marshmallows turn slightly golden, about 5 minutes.
11. Let the cookies cool on baking sheet for 5 min before transfer to a wire rack to cool completely.


Steamed Clams with Chorizo

Summer has always been my favorite season since I was a kid. During the year, the slight thought of summer instantly has me imagining the beach, tan skin (more like a ghastly white complexion with a few more freckles for me), and having no cares in the world. I still love summer a lot even though I no longer have summer vacation as an adult. When I list all of the reasons I love about Summer- beach days, a gateway or two, a wardrobe full of colorful, breezy sundresses… there is one very important fact that I cannot skip: FOOD!!

Summer is so much more than sipping Rosé and binge eating on ice cream. It is the season when harvest is at its peak- the zucchinis are plentiful, berries are everywhere and peaches are starting to ripen. It’s at this moment that you should be running to the kitchen to take advantage of the most bountiful time of year.

Clams are a great summer treat. Sunshine and a glass of chilled white wine are great partners for their delicate flavor. While clams with herbed cream are the classic combo, I prefer them cooked the Spanish way. The spicy kick of chorizo always wakes up my slumbering taste buds in the hot summer weather.

DSC_0810-3

DSC_0806


Ingredients (serving for 2):

  • 4tbs olive oil
  • 200 gram Spanish chorizo, sliced
  • Half an onion, sliced thin
  • 2 garlic cloves, crushed
  • 1 teaspoon of paprika
  • 1 dried hot chili, broken up
  • 3/4 cups white wine
  • 30 littleneck clams
  • Juice of half a lemon
  • 1 tablespoon chopped parsley
  • Black pepper

Directions:

­1. Heat the olive oil over medium heat. Add the chorizo, cook for 3 to 5 minutes or until the oil is colored.
2. Add the onions and cook until softened and fragrant, about 4 minutes.
3. Next, add the garlic, paprika and crushed chili, cook for 1 minute. Add the white wine and bring the mixture to a boil.
4. Add the clams into the broth. Cover and cook until the clams open up, 5 to 6 minutes.
5. Discard any clams that don’t open up.
6. Turn off the heat; add the lemon juice, chopped herbs and black pepper.
7. Serve with crusty bread to sop up all the delicious broth!


Stilton Pork Melts with Caramelised Apples

France and Britain, having engaged in rivaling relationship for centuries, have near-identical levels of national wealth, population, and historical swagger. But when it comes to food…. The French raised cuisine to a high art, while Britain- just across the channel, has had such a poor reputation for food until recently.

French cuisine may be my all-time favorite. But I always turn to British comfort food when I have a rough day at work… scotch eggs, bangers and mash, sticky toffee pudding and the list goes on. Heartwarming, filling and satisfying, they are always there ready to give me a cuddle when I need it most.

Stilton pork melts – a classic British delight, can also be made with any kind of blue cheese on top of pork chop with a spread of Apple sauce in between. Here I replaced the apple sauce with caramelized apples, using the leftover apples I had from making chicken Normandy. The blue cheese adds a mellow depth of tangy flavor and sophistication to the dish.  It brings together the tender pork and the sweet, sticky apple pieces, fusing them to create an incredible depth of flavour.

DSC_0710

DSC_0755-3

Let’s not lose hope in Brit food… as once said by a handsome prime minister – Britain may be a small country but it’s a great one. The country of Shakespeare, Churchill, the Beatles, Sean Connery, Harry Potter. David Beckham’s right foot…


Ingredients:

  • 2 two-inch bone-in pork chops (I used iberico this time)
  • 100g Stilton or other blue cheese
  • pinch of pepper and garlic salts for seasoning
  • caramelised apples
  • 1 tablespoon of butter
  • 3 tablespoon of sugar
  • 1 apple cored and sliced
  • pinch of cinnamon

Directions:

  1. Preheat oven to 220 deg c.
  2. Season the chops on both sides with a good sprinkling of garlic salt and pepper.
  3. Heat oil over medium heat in a saucepan, cook pork chops on both sides until they are golden brown, 2 to 3 minutes on each side.
  4. Put the seared chops in the oven, cook for 20 min more. (the cooking time depends hugely on the thickness of the chop, do not hesitate to ask your butcher for advice =p that’s what i do all the time!)
  5. Start preparing for the caramelised apples for the time being. Peel and core apples. Slice into 1/4″ wedges.
  6. Melt butter and sugar over low-medium heat until sugar dissolves and mixture is bubbly, about 1 minute.  Add apples and cinnamon and cook over medium heat until soft and tender, for approximately 10 minutes, stirring constantly.
  7. Spread a generous layer of stilton cheese on each chop, return to the oven to cook for further 5 minutes, or until the cheese melts.
  8. Transfer the cooked pork chops and caramelised apples to a plate, let the chops rest for at least 5 minutes before serving.

Melt-in-your-mouth baby ribs!

I always feel hesitated to make ribs at home as it is kind of intimidating to handle such a big chunk of meat. Plus most of the ribs I order in restaurant are overcooked and dry.

My worries ward off after trying this simple recipe, where the ribs were wrapped in foil and then slow- braised to contain heat and moisture, finished with a cooked-on glaze in the end. It only took a few ingredients but the result was… absolutely fall-off-the-bone tender!

DSC_0664

Who said you had to slave away in the kitchen to be a domestic goddess?

Let the oven do all the dirty work and spend your time on something more important… (like online shopping!)


Ingredients (serving for 2):

  • 2 lbs pork ribs
  • 1/2 cup light brown sugar
  • 1 tablespoon paprika
  • 1 tablespoon garlic powder
  • 2 cups of your favorite premade barbecue sauce

Directions:

  1. Preheat oven to 150 degrees c.
  2. Mix together the sugar and spices to make the dry rub.
  3. Generously apply dry rub to ribs on all sides.
  4. Lay ribs on the foil, roll and seal edges tightly
  5. Bake for 3 hours until meat is starting to shrink away from the bone.
  6. Remove from oven.
  7. Brush on sauce on all sides.
  8. Return ribs to the oven and bake uncovered (meat side up) at 180 deg for another 15-  20 min or until there is bubbling of the sauce.